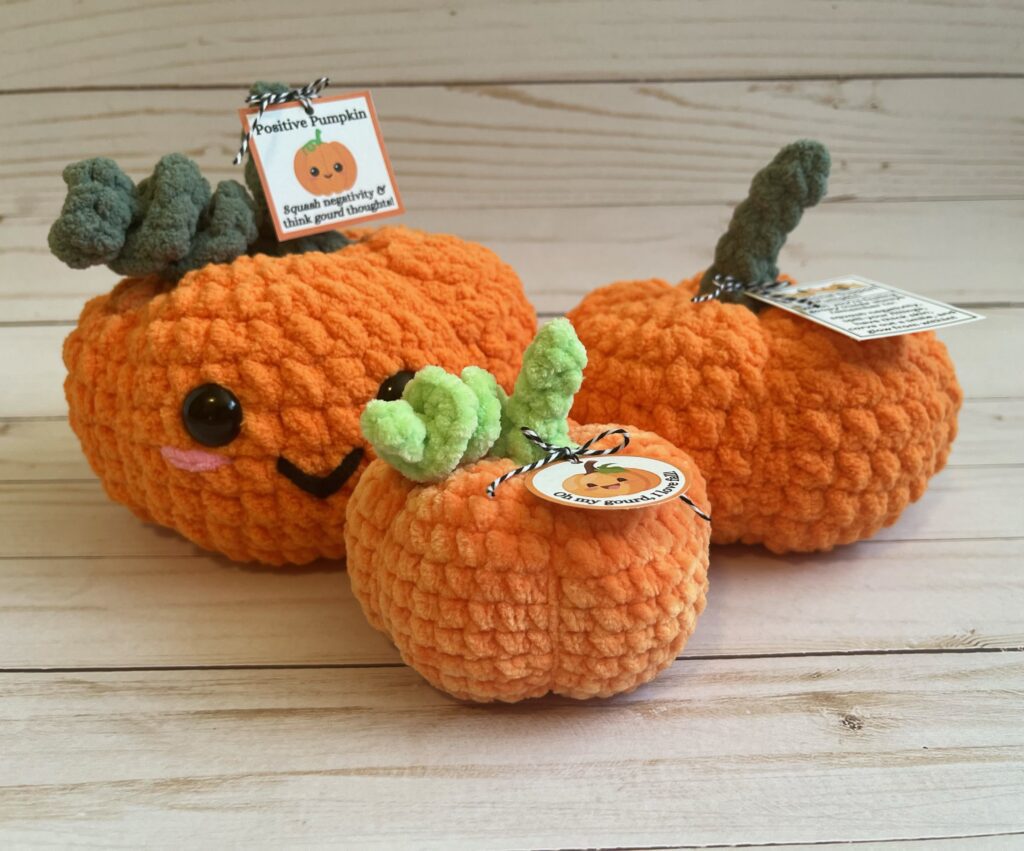
Free No-Sew Pumpkin Crochet Pattern
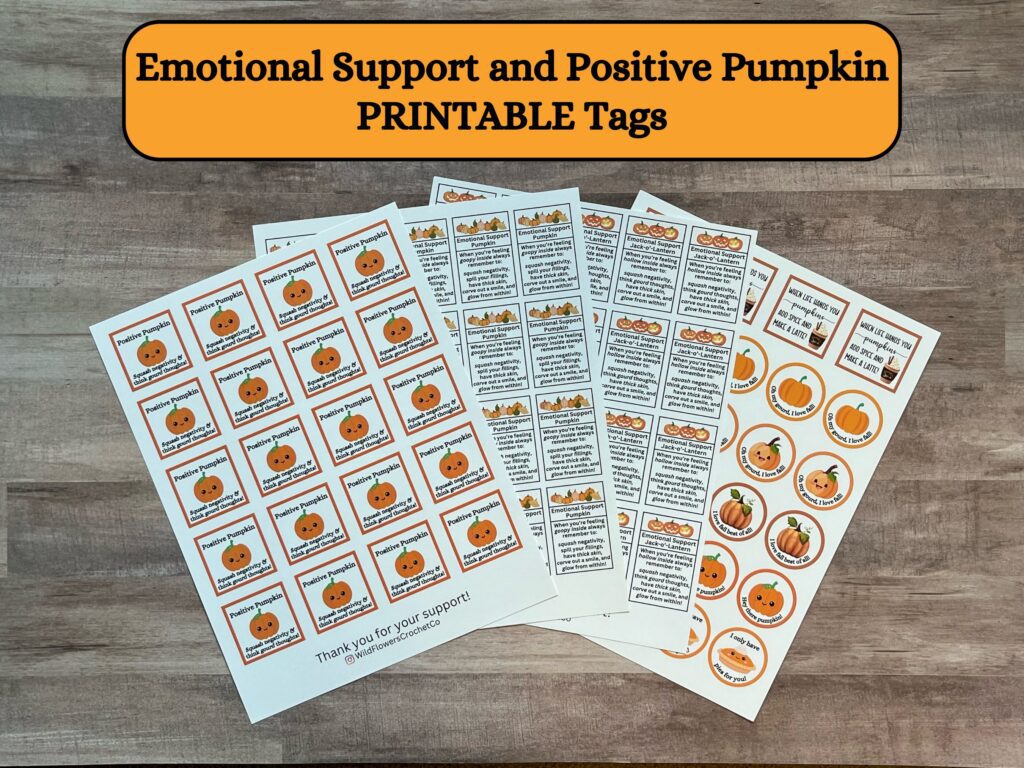
Crochet your very own pumpkin with this FREE pattern! Then turn your “plain” pumpkin into a super-cute Positive Pumpkin or an Emotional Support Pumpkin with tags available in my shop.
Disclosure: This post may contain affiliate links meaning I get a small commission if you decide to make a purchase through my links at no cost to you.

Copyright
This pattern is for personal and small business use only. You are free to sell the finished items made from this pattern provided you give credit to the designer WildFlowers Crochet Co. (@WildFlowersCrochetCo) in any listings, advertising, and/or social media content.
Notes
- This pattern is written in US crochet terminology.
- Each round is worked using a continuous spiral.
- I recommend using a stitch marker to keep track of each round.
- The approximate finished size of this pattern is approx. 6” across and 6” tall (to tip of the stem) when using the indicated yarn weight and hook size.
Materials
- Bernat Blanket Yarn in two colors (I used Carrot Orange for the pumpkin and Smoky Green for the stem/curl).
- 8mm hook
- 16mm safety eyes
- Fiberfill stuffing
- Yarn needle (an extra long 5” needle really helps with creating the segments)
- Stitch marker
- Small amounts of black and pink yarn to embroider the face details
Abbreviations
- MR: magic ring
- R: round
- sc: single crochet
- inc: increase
- dec: decrease
- FO: finish off
Pumpkin Pattern
Start with your pumpkin color
- R1: 8sc in MR (8)
- R2: inc x8 (16)
- R3: (sc, inc) x8 (24)
- R4: (2sc, inc) x8 (32)
- R5: (3sc, inc) x8 (40)
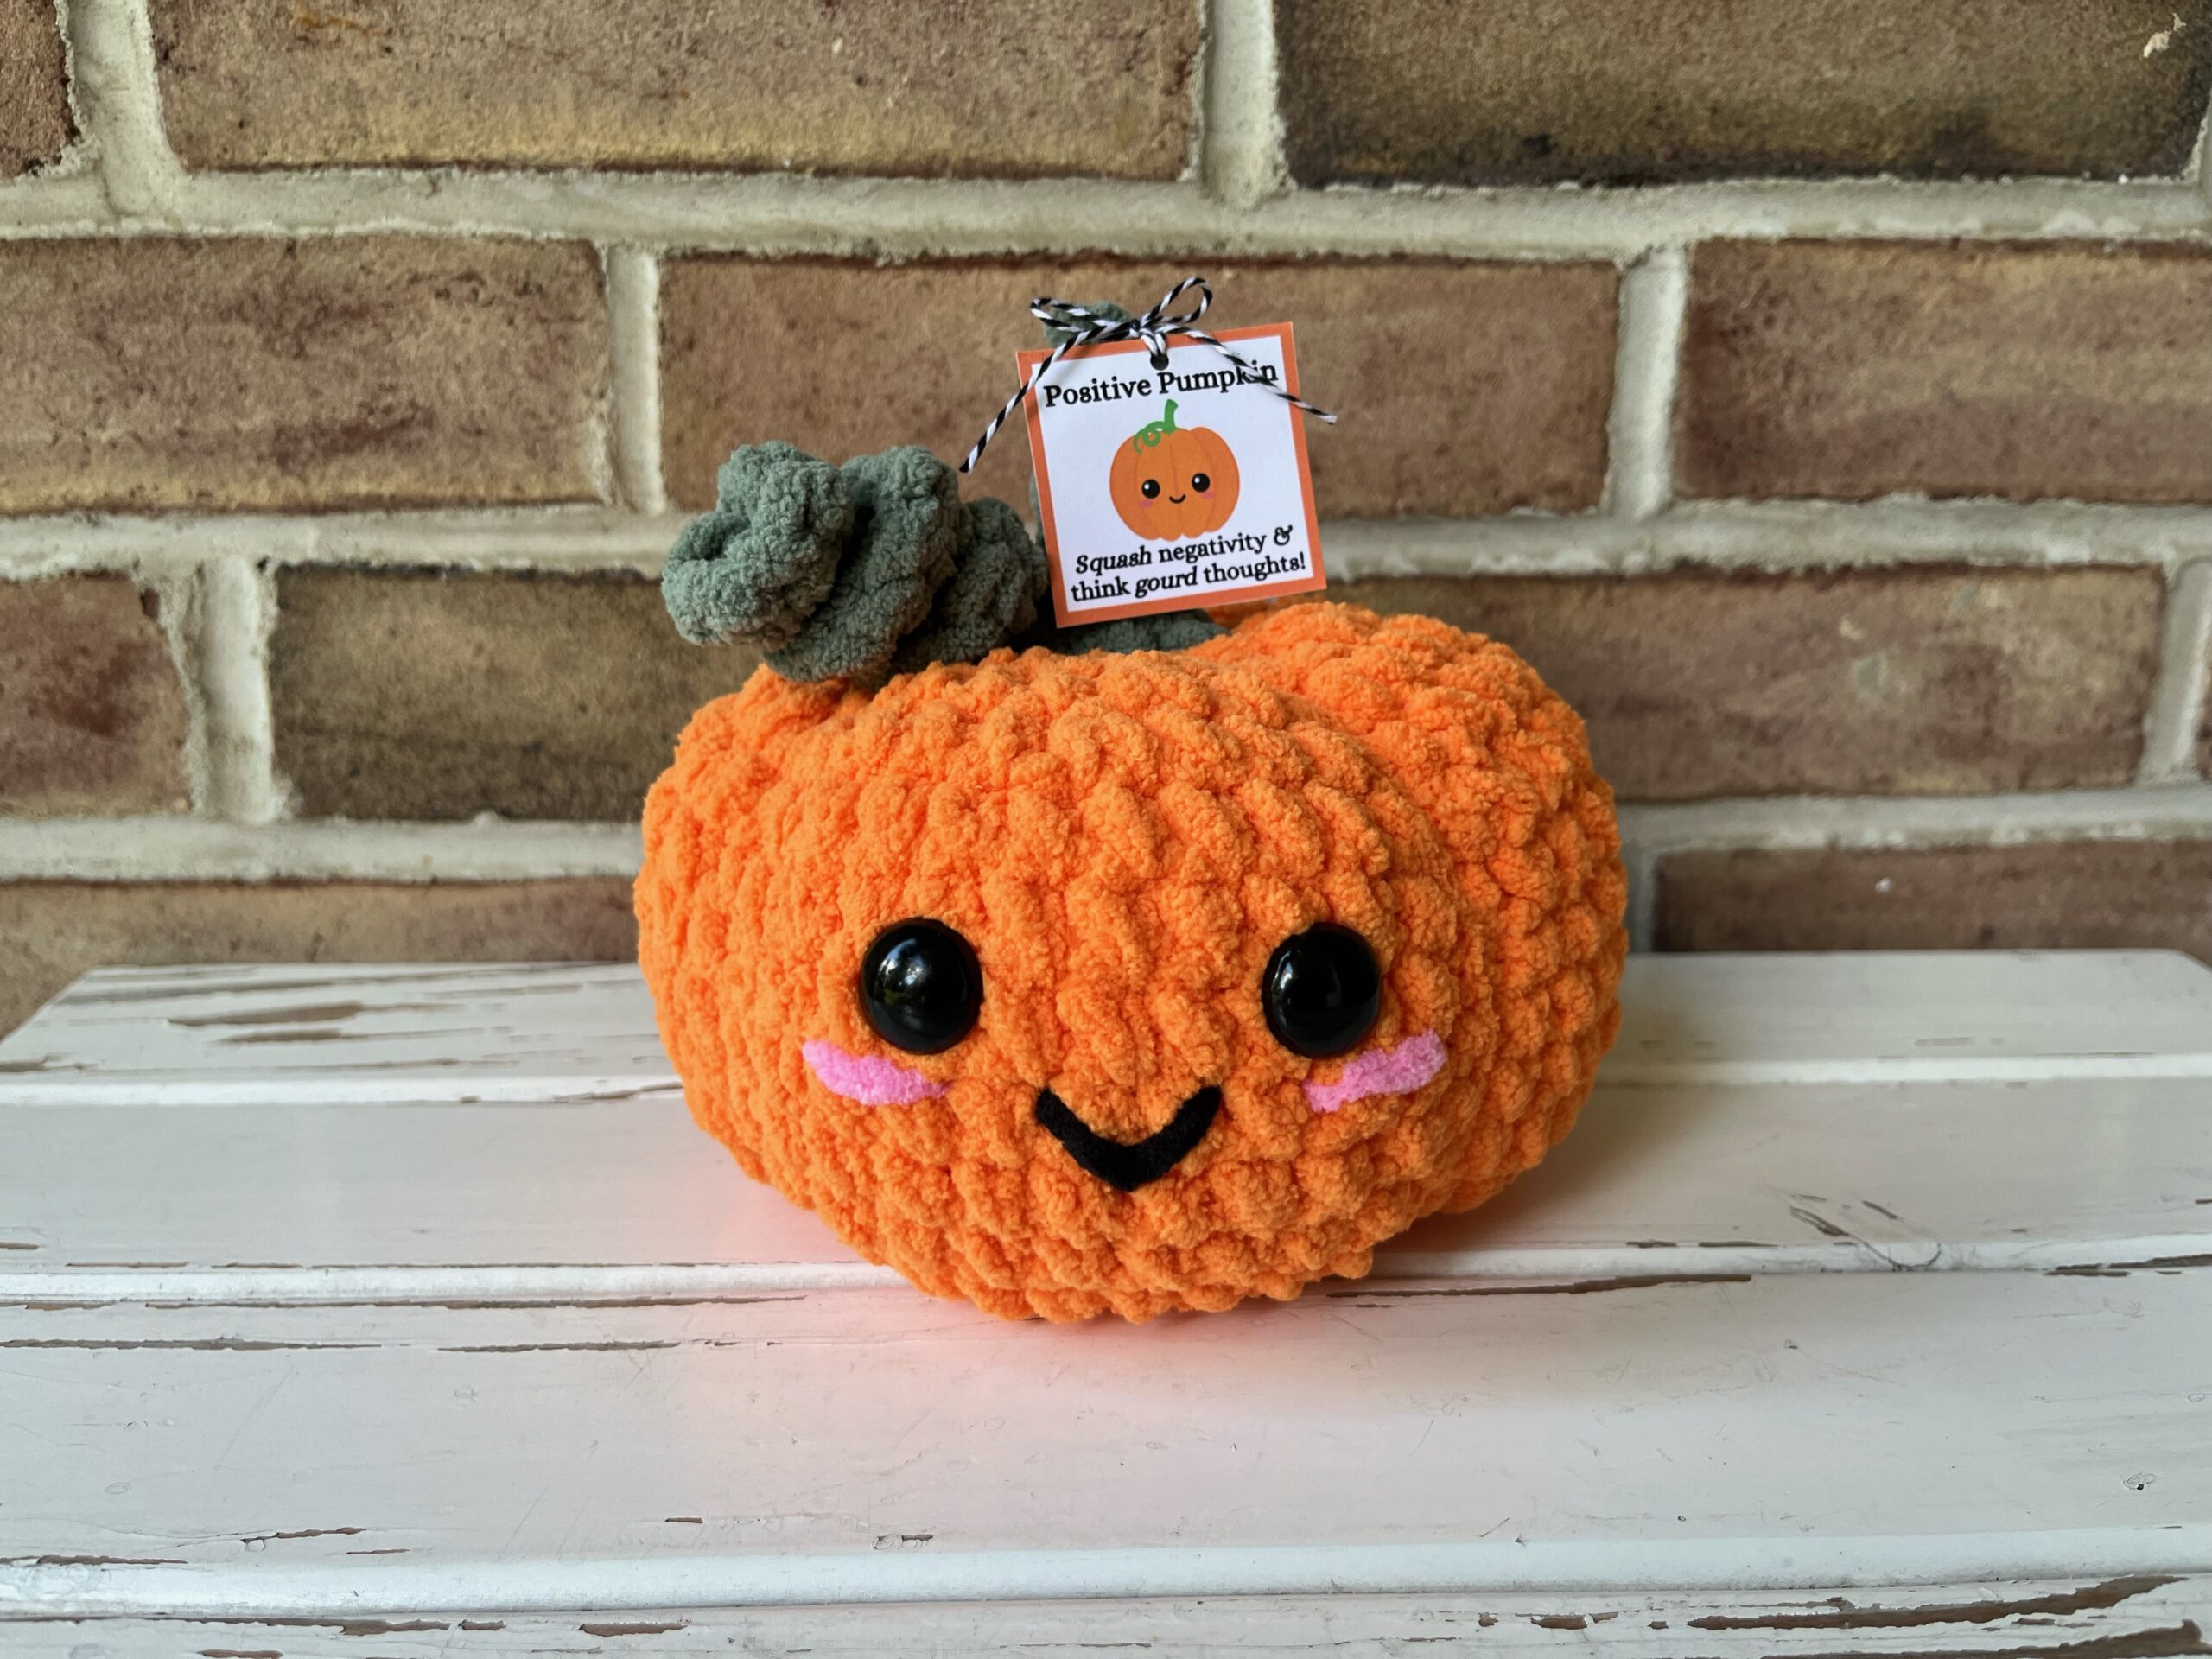
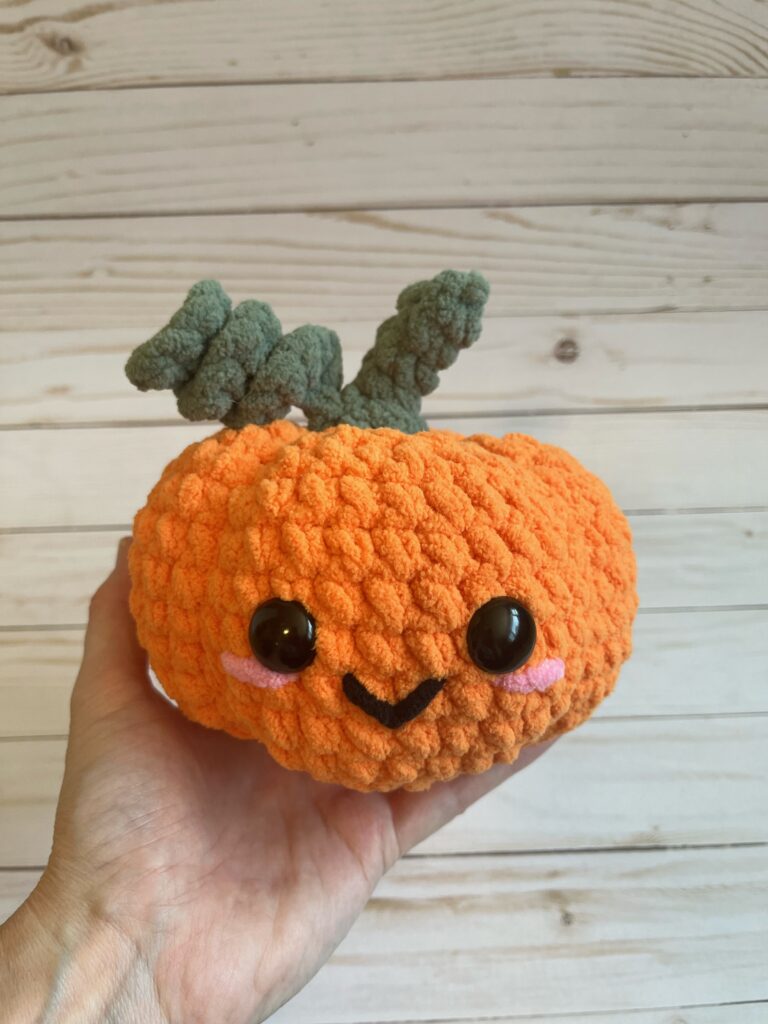
- R6-12: 40sc around (7 rounds) Insert eyes bet rows 10-11 three stitches apart. Add face details now or wait until the pumpkin is complete (Image 1).

- R13: (3sc, dec) x8 (32)
- R14: (2sc, dec) x8 (24) Begin stuffing.
- R15: (sc, dec) x8 (16)
- R16: dec x8 (8) Change to stem color on the last dec of the round.
- Cut pumpkin color yarn making sure to leave a long tail (approx.60-65”). We will use this later to shape the pumpkin and create the pumpkin segments.
Choose ONE of the 3 Stem Options Below to Continue
Option 1: Stem only with no curl (easiest option)
Stem:
- R17: 8sc around (8)
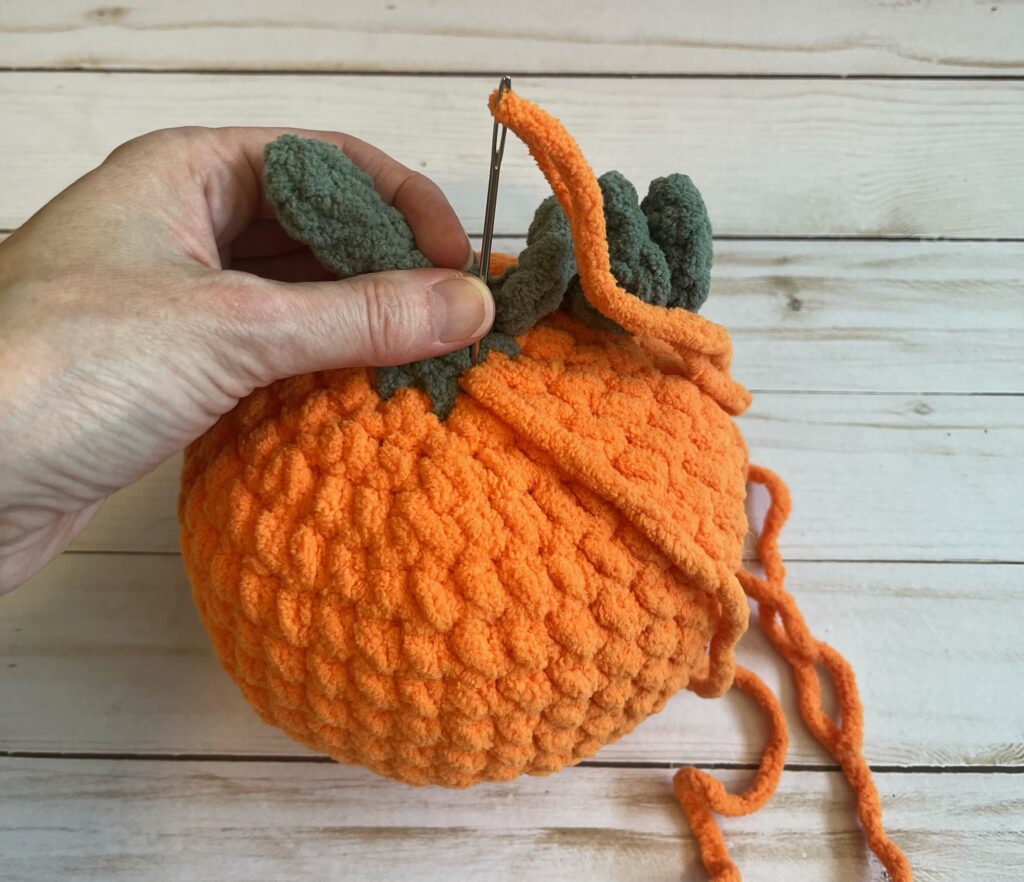
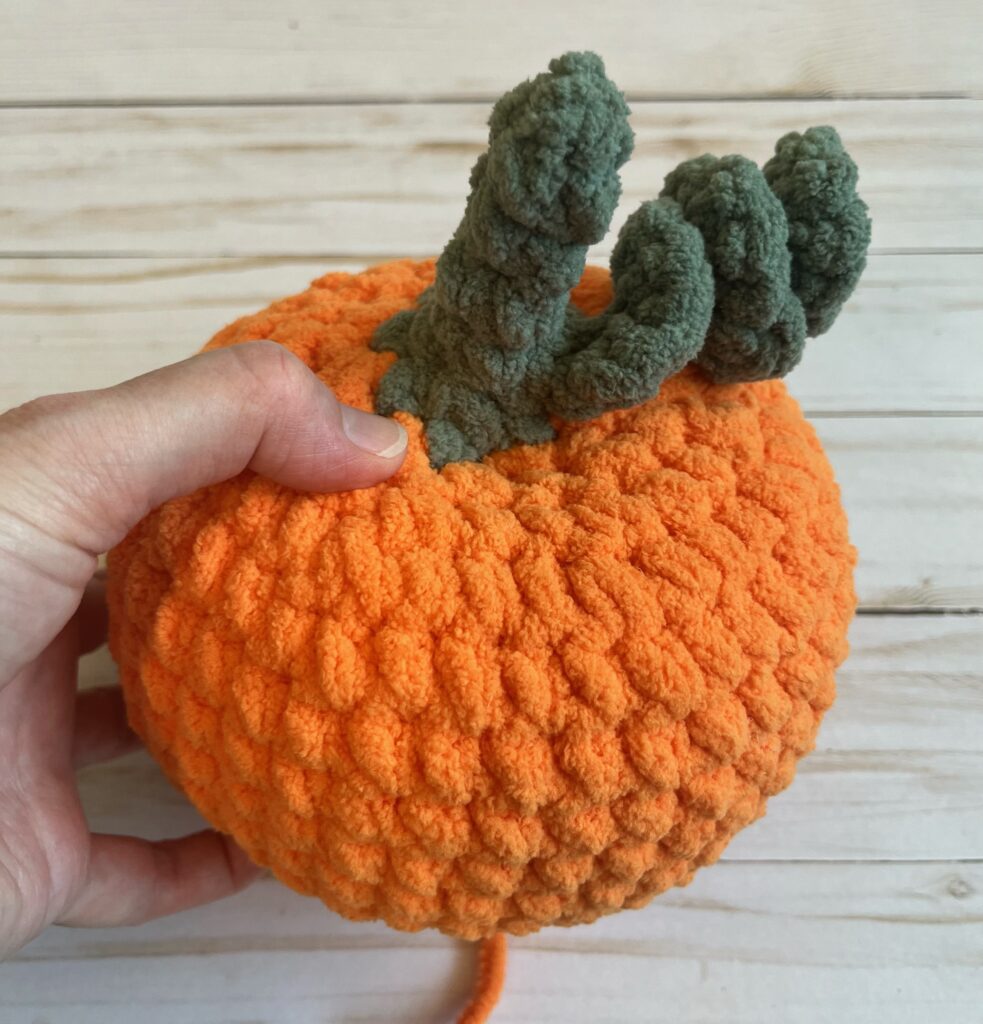
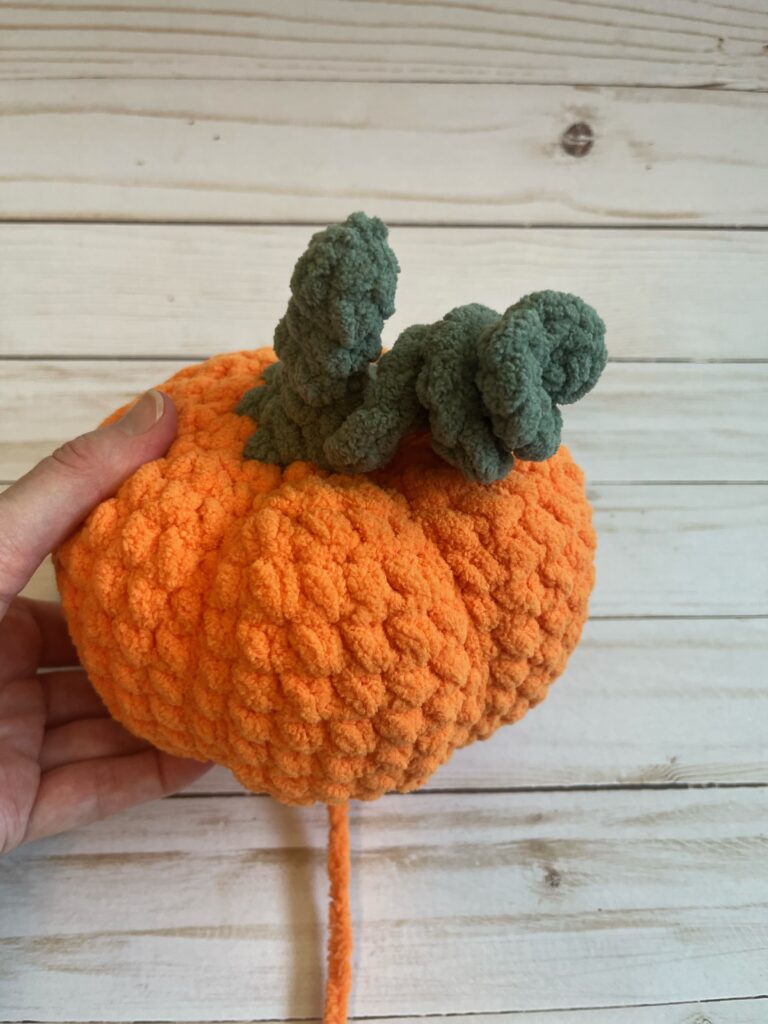
- Knot the stem tail to the long pumpkin tail (Image 4). Hide the stem tail inside of the pumpkin. Using a yarn needle, bring the long pumpkin tail outside of the pumpkin next to the stem. (Image 5). Finish stuffing the pumpkin. The stem will not be stuffed.
- R18: dec x4 (4)
- R19-22: 4 sc around (4 rounds).
- FO, sew the hole closed, and hide the stem yarn tail.
- Continue by skipping to the “Shaping and Segments” section below.
Option 2: Stem with sewn on curl
Stem:
- Follow R17-R22 above and FO as described.
Curl:
- Make a slip knot and chain 10.
- Starting in the second chain from the hook, work 3sc in each of the 9 chain stitches (27 sc). Cut yarn and leave a long enough tail to attach the curl to the pumpkin.
- Weave in the slip knot tail end. Using the remaining tail end, sew the curl next to the stem in the desired position.
- This method allows for better control of where your curl ends up in comparison to the face, but now the pattern is technically “low-sew” instead of “no-sew.”
- Continue by skipping to the “Shaping and Segments” section below.
Option 3: Stem with no-sew curl (hardest method)
With Stem Color:
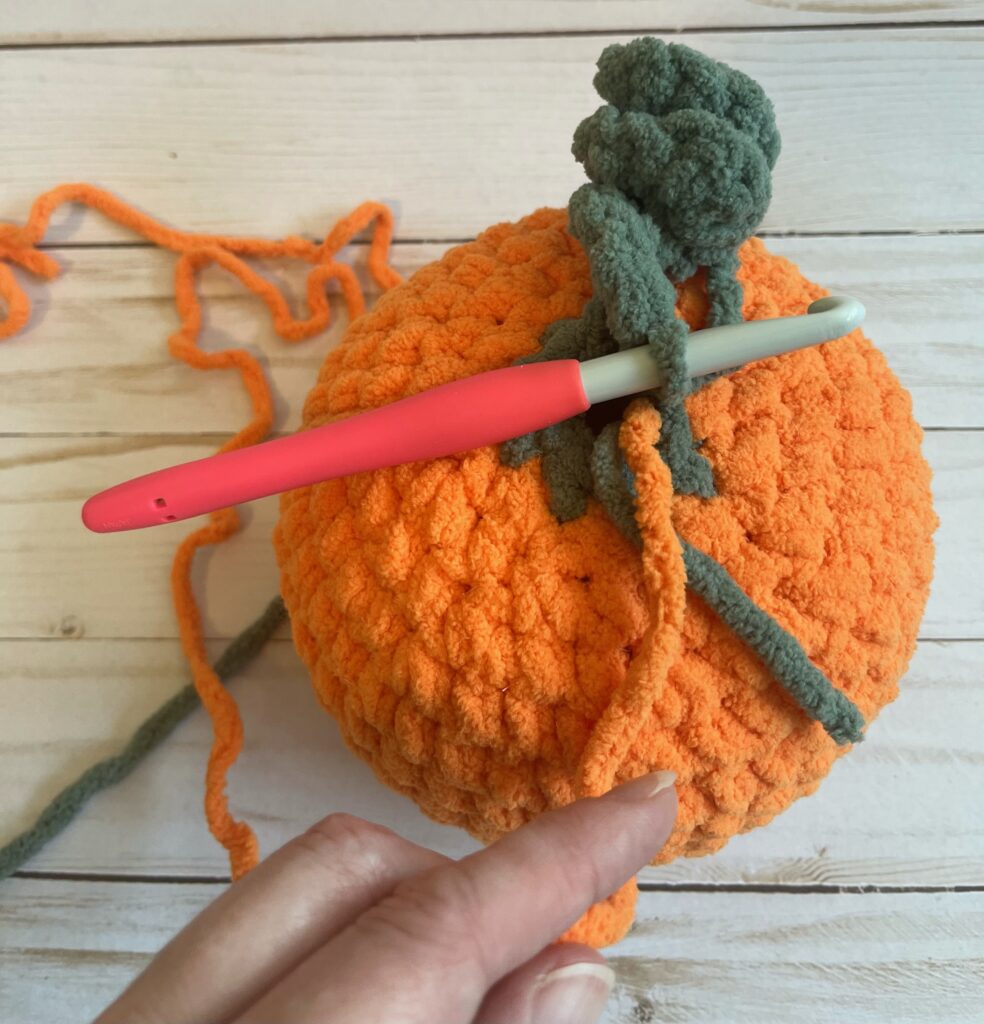
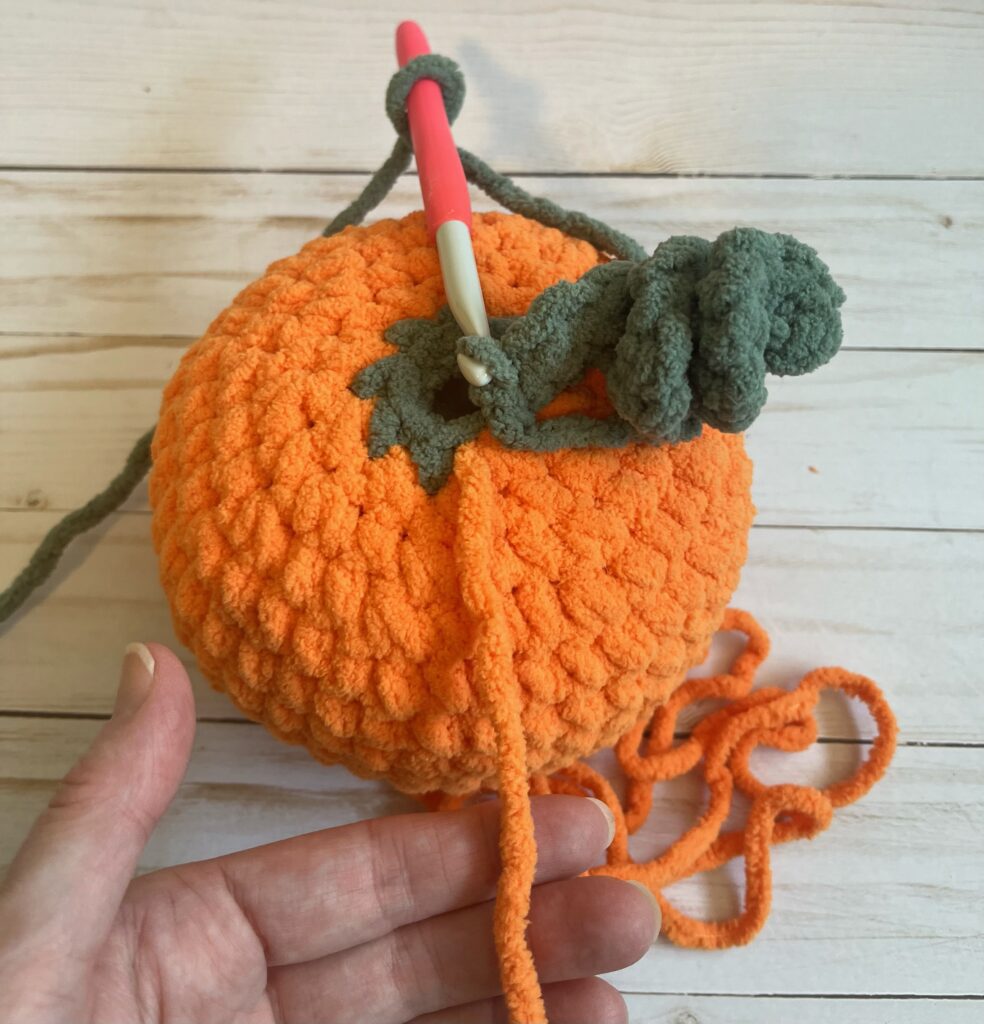
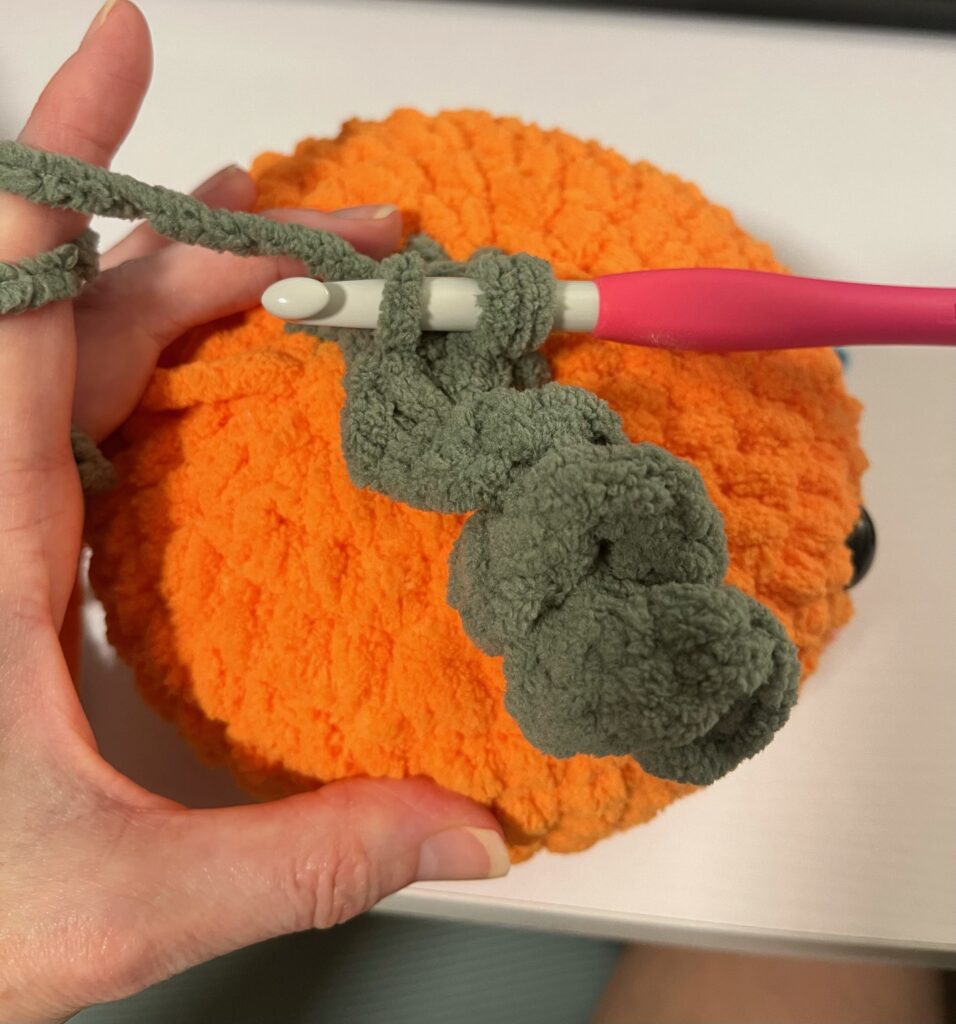
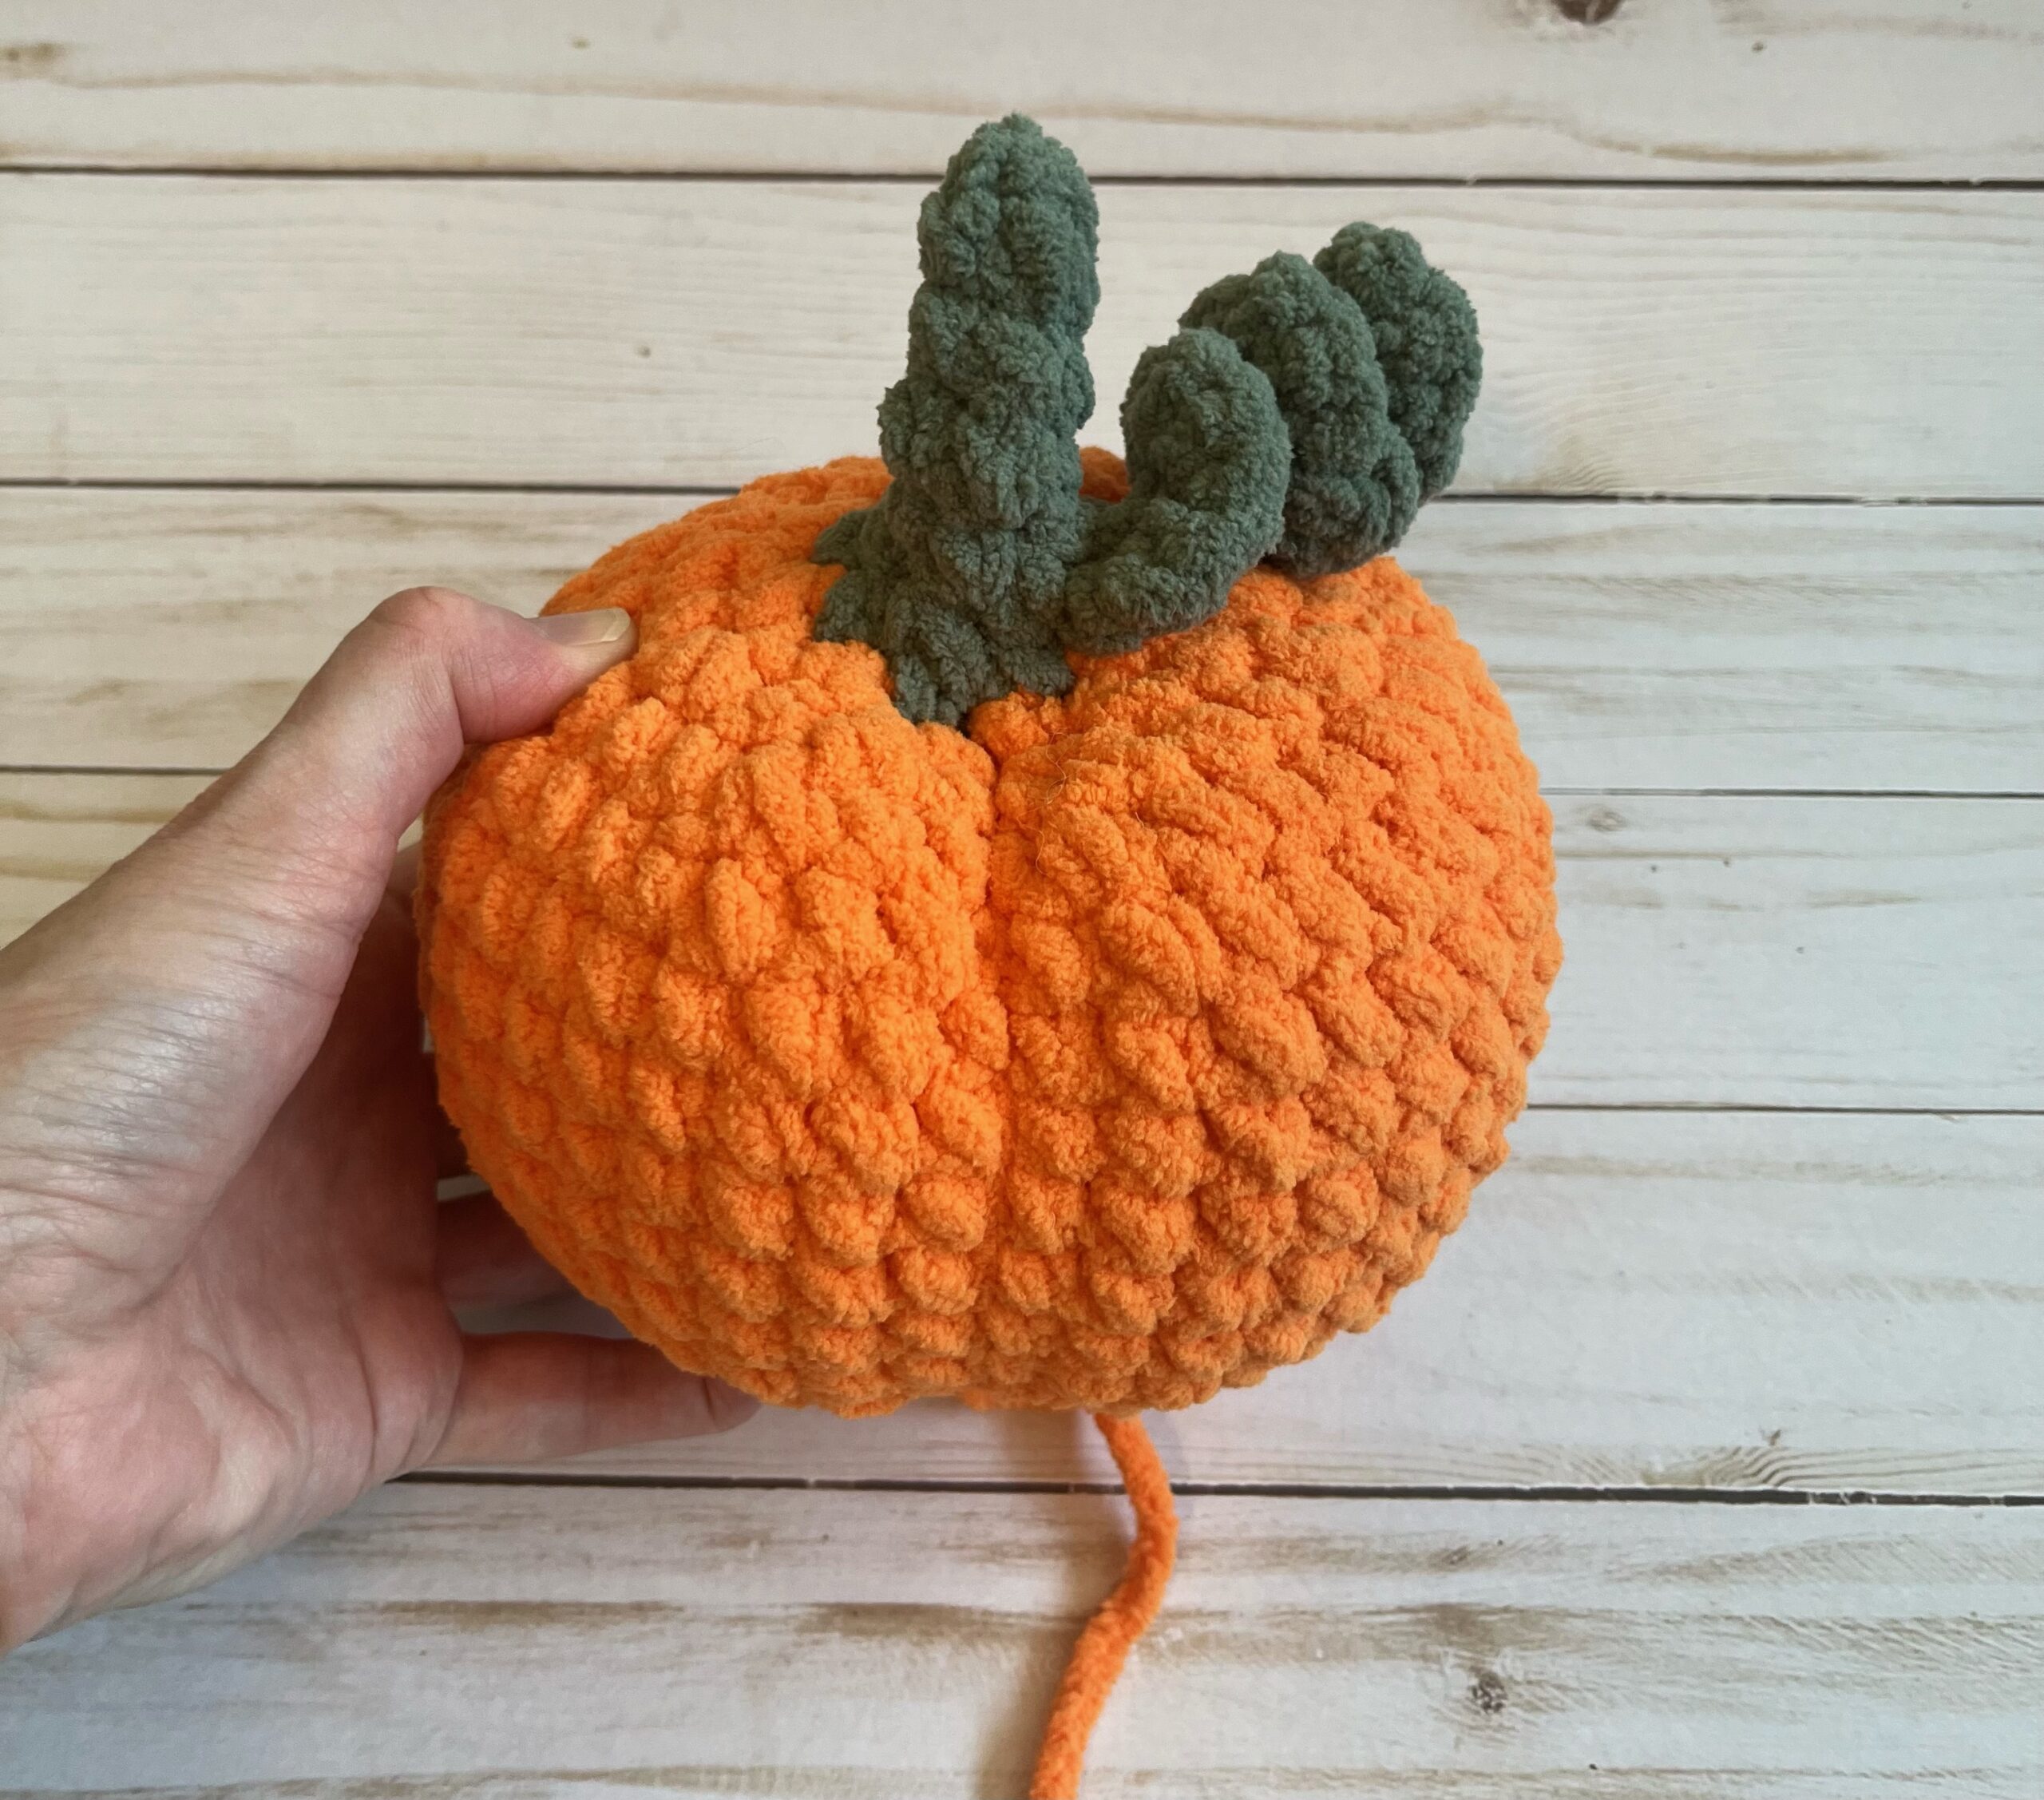
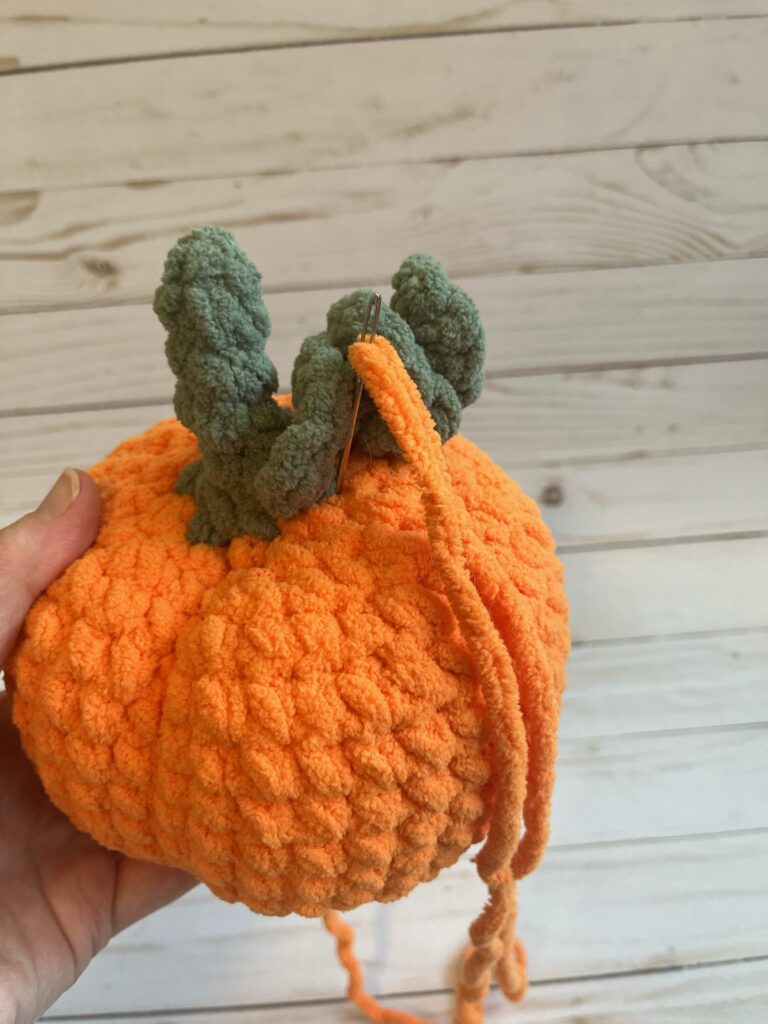
- R17: 7sc then chain 10 (Image 2). Starting with the second chain from the hook, work 3sc in each of the remaining 9 chain stitches. Finish the last sc of the round (Image 3).

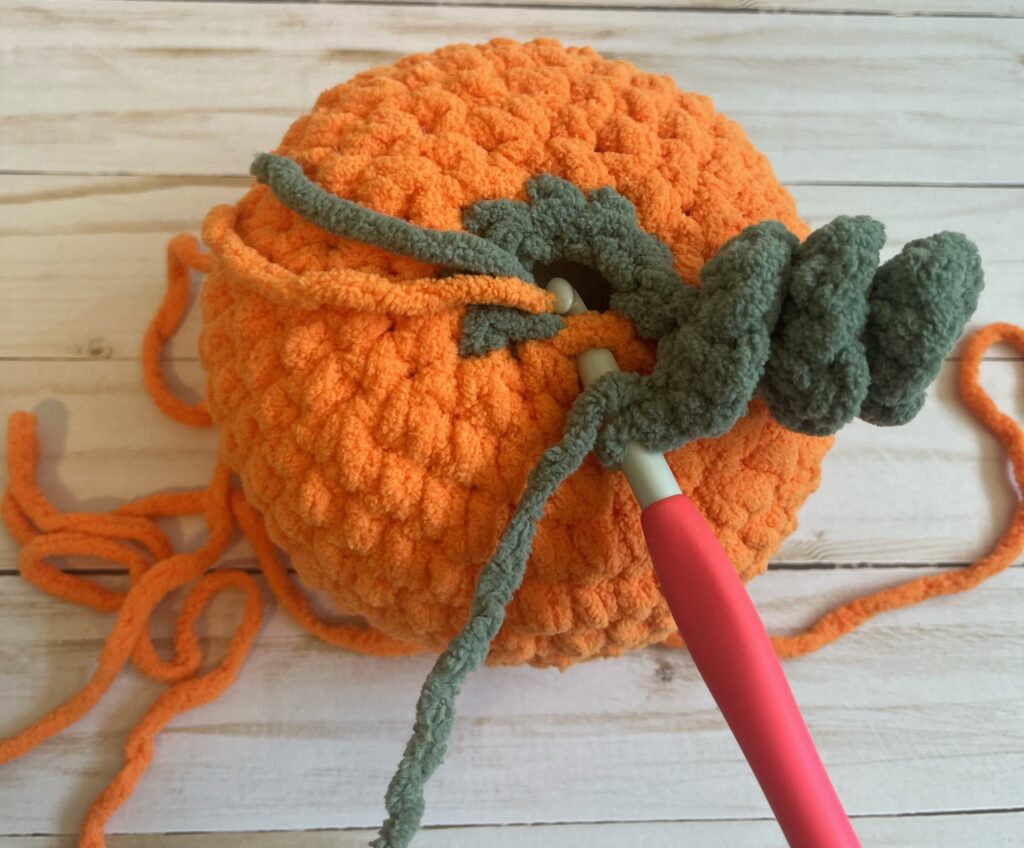
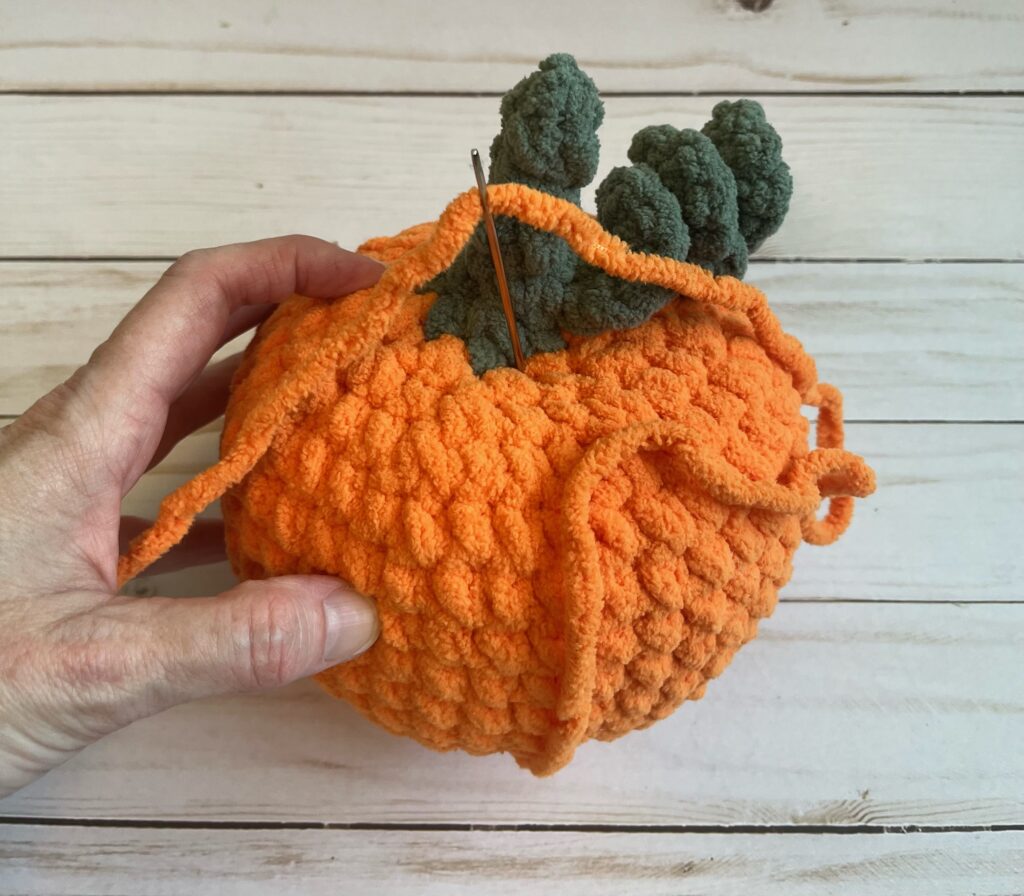
- Knot the stem tail to the long pumpkin tail (Image 4). Hide the stem tail inside of the pumpkin. Using a yarn needle, bring the long pumpkin tail outside of the pumpkin next to the stem (Image 5). We will use this later to shape the pumpkin and create the pumpkin segments.
- Finish stuffing the pumpkin. The stem will not be stuffed.
- R18: dec x4 (4) You will be decreasing “over” the curl for the final dec stitch. Insert your hook into the sc just before the curl (green stitch marker in photo below) and pull up a loop. Then work over the curl and insert your hook into the final stitch of round 17 (blue stitch marker) and pull up a loop. Yarn over and pull through all 3 loops on your hook.

- R19-22: 4 sc around (4 rounds).
- FO, sew the hole closed, and hide the stem yarn tail.
- Continue to the “Shaping and Segments” section below.
Shaping and Segments
- Thread your yarn needle onto the long yarn tail and bring it straight down through the pumpkin and out the center of the magic ring at the bottom of the pumpkin (Image 8). Pull gently (so you don’t break the yarn) to create an indent at the top of the pumpkin (Image 9). Loop or knot the yarn around a stitch to secure at the bottom of the pumpkin.
- Now you will create the first segment by bringing the yarn around the outside of the pumpkin and back down through the indent you just made where the stem meets the pumpkin (Image 10). Come out of the center of the magic ring again. Pull the yarn gently to create an indented segment and knot at the bottom of the pumpkin to secure (Image 11). Repeat these steps to create 5-6 segments and FO by hiding the yarn tail inside the pumpkin.

Finishing
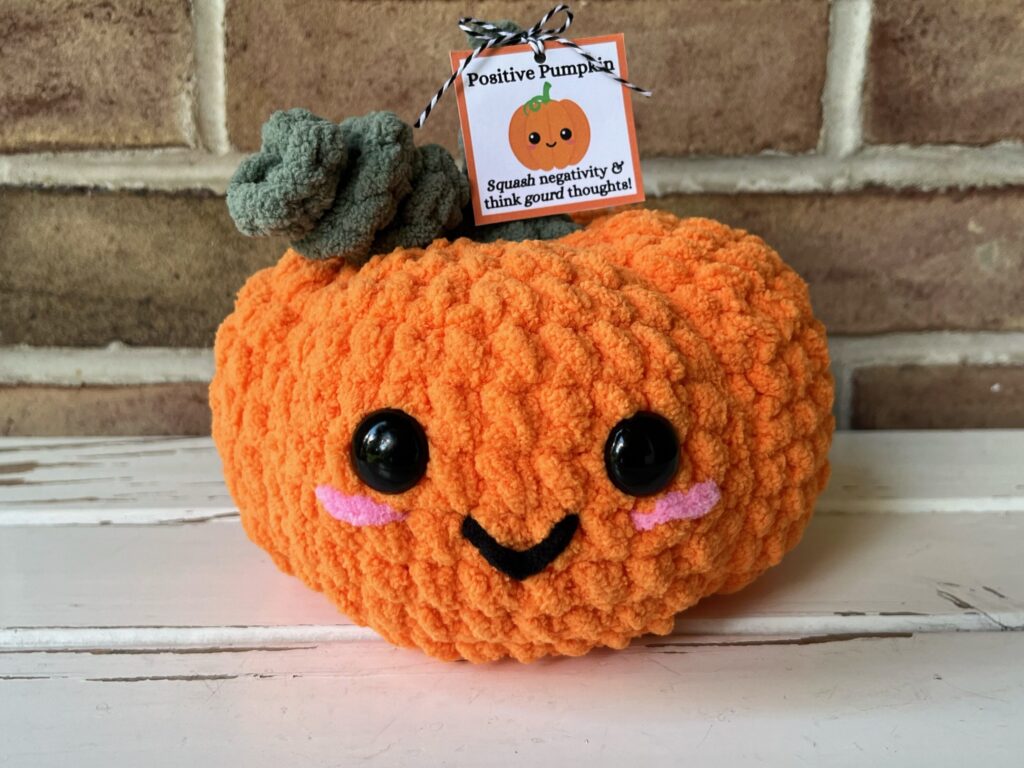
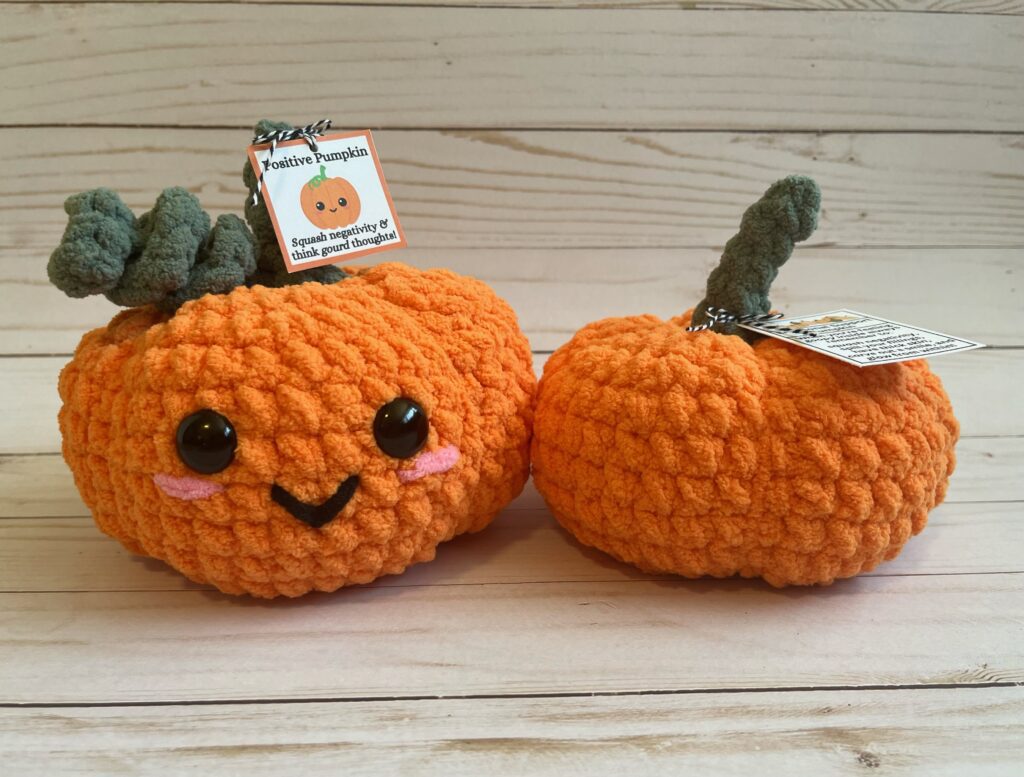
Embroider your face details if you haven’t done so already, add a cute tag, and enjoy your new Positive Pumpkin Pal!!
Variations
Shorter Pumpkin
- Reduce the 7 rounds of 40sc to 5 rounds of 40sc.
- So you would: Complete pattern as written above from R1-R10.
- R11 will be the (3sc, dec) x8 and continue on with the original pattern from there.
Parfait Chunky Yarn
- 4.5mm hook w/parfait chunky yarn.
- About 3.5″ tall and 3.5″ wide.
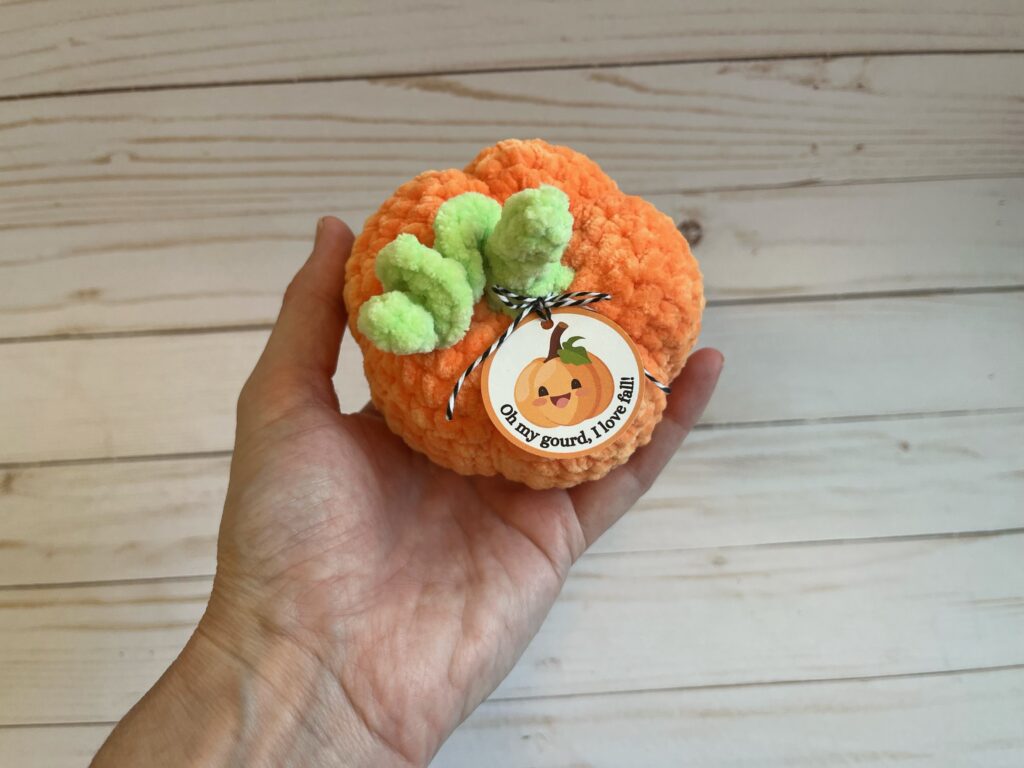
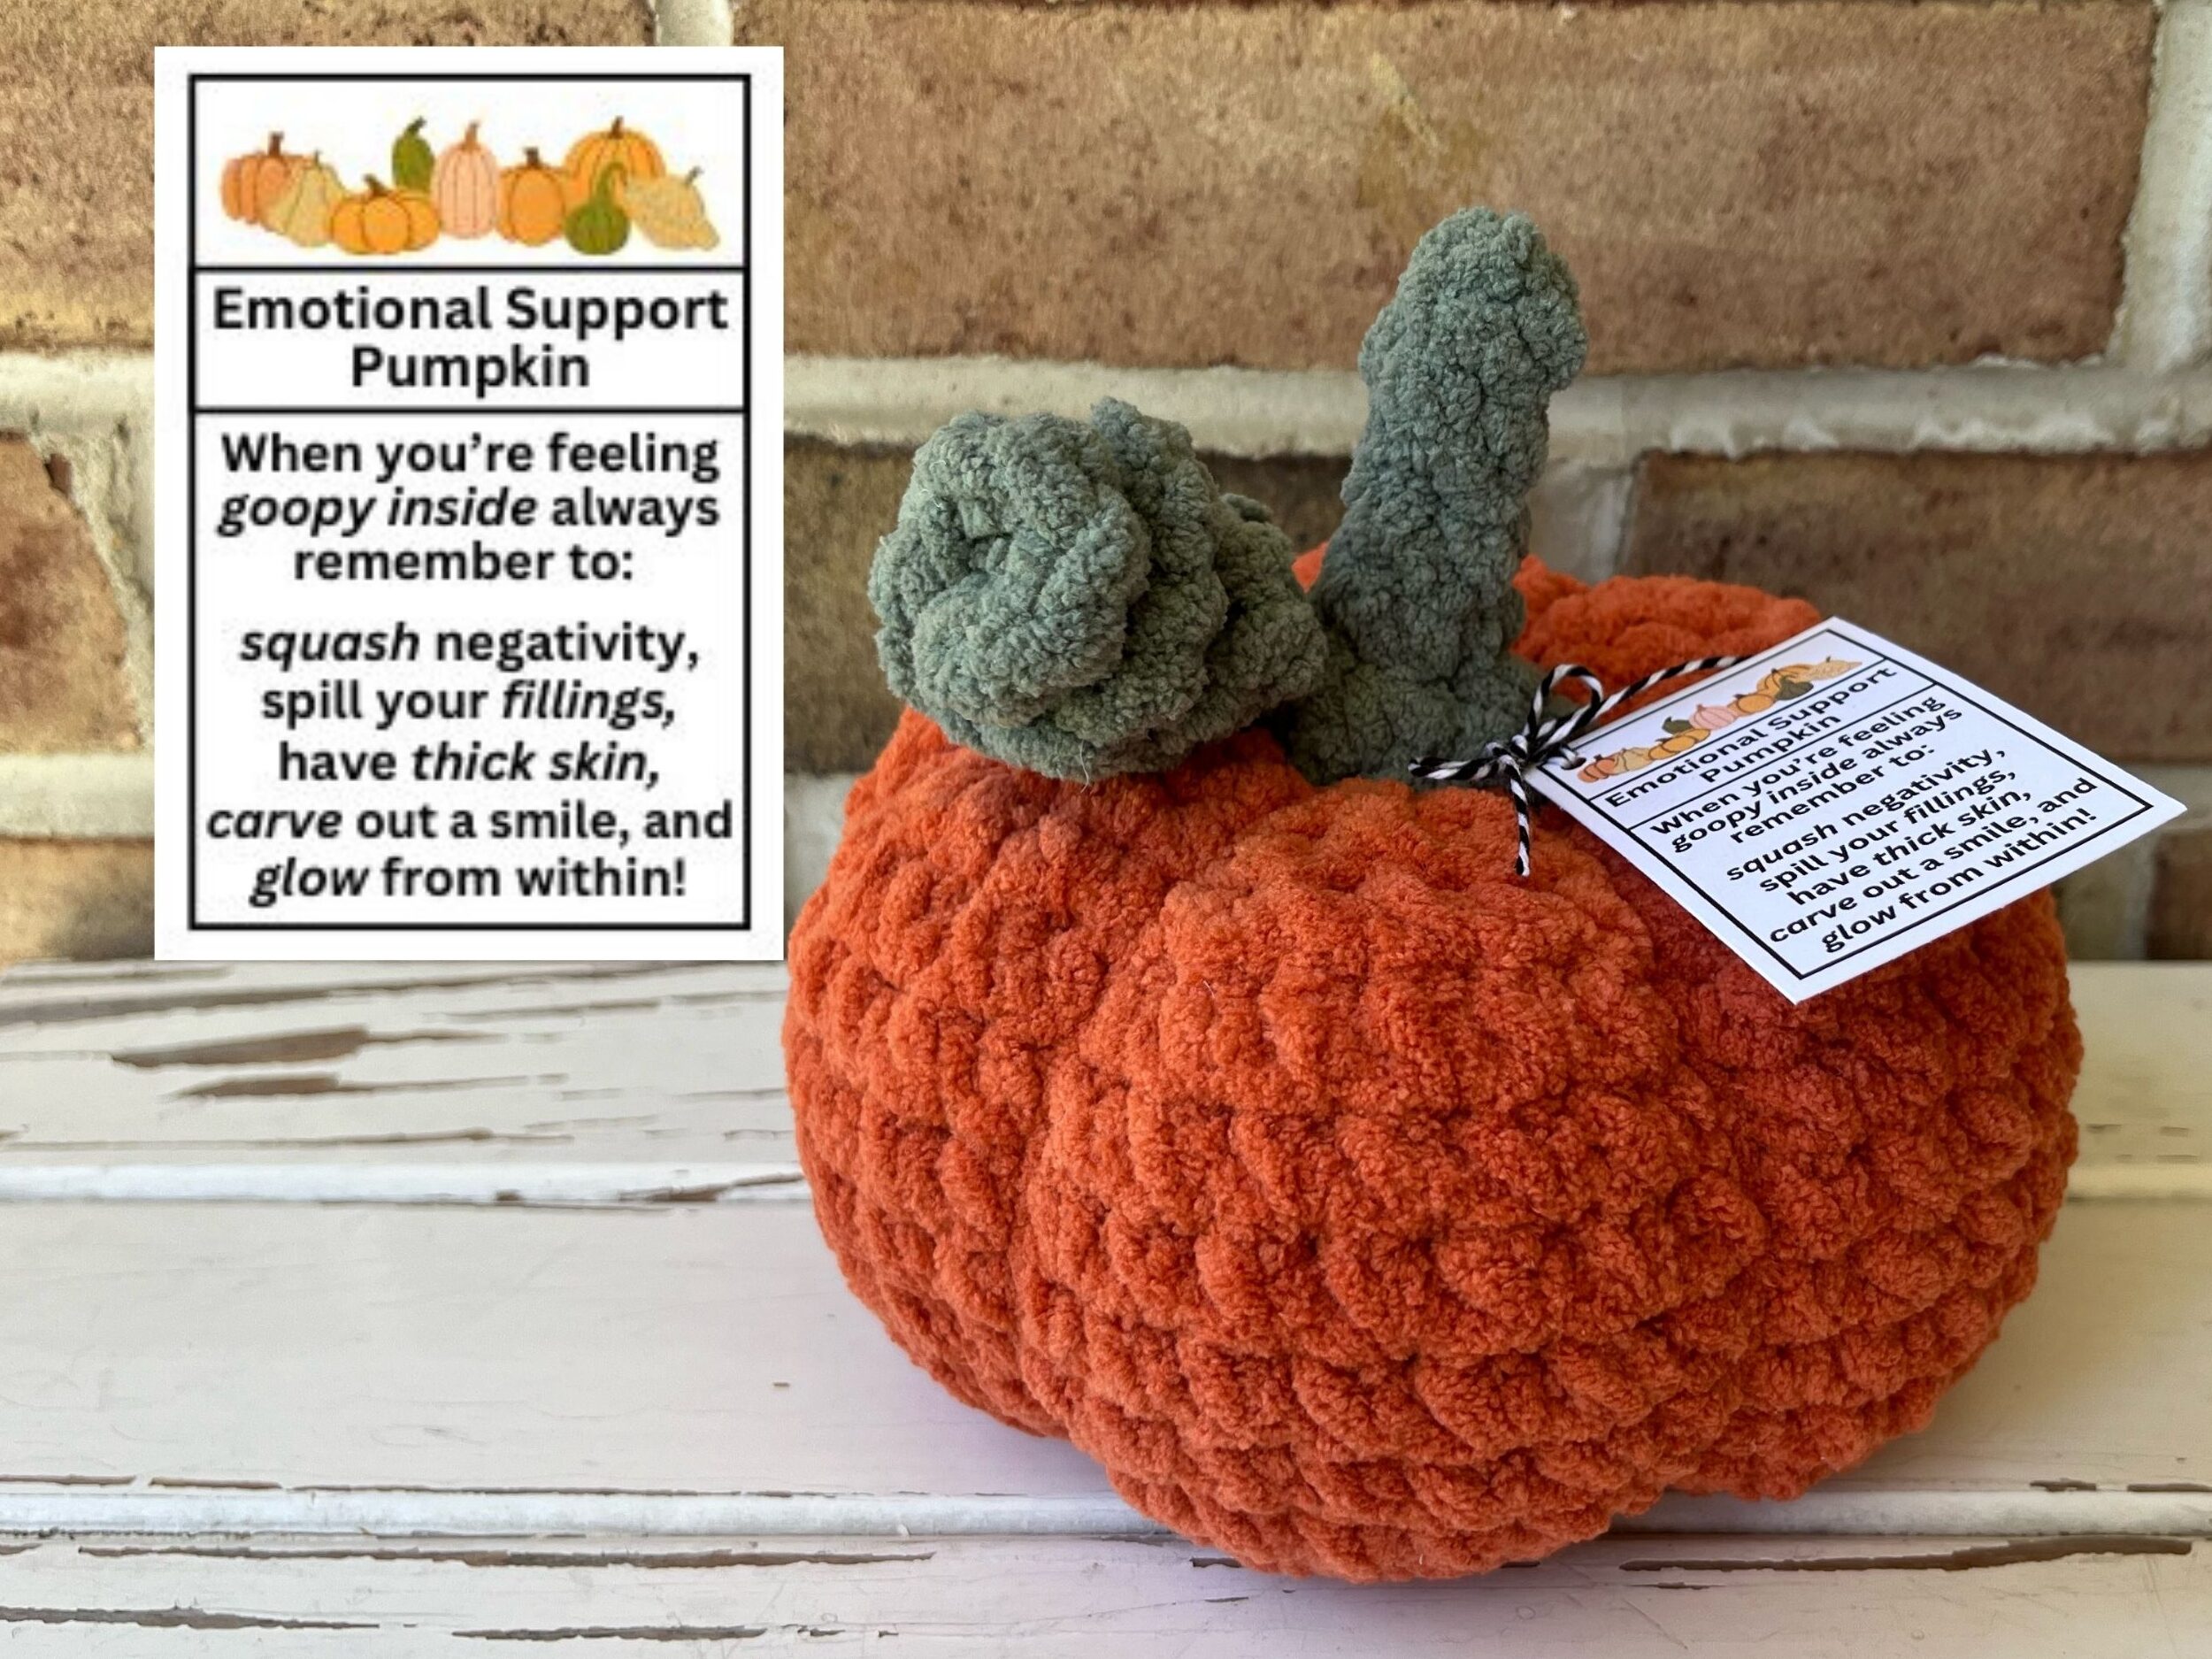
Premium Pumpkin Tags
Don’t forget to add one of my tags available in my shop!